Installing Windows 11: Step-by-Step Guide and Requirements!!
Are you ready to upgrade to Windows 11? With its sleek design and enhanced features, many users are eager to make the switch from older versions of Windows. Here’s a comprehensive guide on how to install Windows 11 on your PC or laptop.
Check System Requirements
Before you begin, ensure your device meets the minimum system requirements for Windows 11. These include compatible hardware specifications such as processor, RAM, and storage capacity. Visit Microsoft’s official website to verify compatibility or use their PC Health Check tool.
Back Up Your Data
Installing a new operating system carries the risk of data loss. It’s crucial to back up all your important files and documents to an external drive or cloud storage service. This ensures you can recover your data in case something goes wrong during the installation process.
Download Windows 11
You can download the Windows 11 installation files from Microsoft’s official website or through other authorized channels. Make sure to download the correct version (Home, Pro, etc.) that matches your license.
Create Installation Media
Once the download is complete, create a bootable USB drive or DVD with the Windows 11 installation files. Microsoft provides a tool called Media Creation Tool that simplifies this process. Follow the instructions provided by the tool to create your installation media.
Start the Installation Process
Insert the bootable USB drive or DVD into your computer and restart it. Enter the BIOS settings (usually by pressing F2, F12, ESC, or DEL during startup) and set your computer to boot from the installation media. Save changes and exit BIOS.
Install Windows 11
Your computer will now boot from the installation media, and you’ll see the Windows 11 setup screen. Follow the on-screen instructions to begin the installation process. You’ll be prompted to select language preferences, enter your product key (if required), and choose installation options.
Complete Setup
After the installation completes, your computer will restart, and you’ll be guided through the final setup steps. These include configuring settings such as privacy preferences, user accounts, and internet connectivity. Once completed, you’ll be greeted with the Windows 11 desktop.
Install Drivers and Updates
To ensure optimal performance, install the latest drivers for your hardware components (graphics card, sound card, etc.) and update Windows 11 with the latest patches and security updates. This helps fix any compatibility issues and ensures your system runs smoothly.
Restore Your Data
Finally, restore your backed-up files and documents to your newly installed Windows 11 system. Verify that everything is intact and working as expected.
Enjoy Windows 11!
Congratulations! You’ve successfully installed Windows 11 on your PC or laptop. Explore its new features, enhanced performance, and sleek design to make the most out of your computing experience.
Installing Windows 11 can seem daunting at first, but by following these steps carefully and ensuring your device meets the requirements, you’ll be able to enjoy the benefits of Microsoft’s latest operating system in no time. Happy computing!
https://hireitexpert.co.uk/install-windows-11/


@1702893754155852_36063


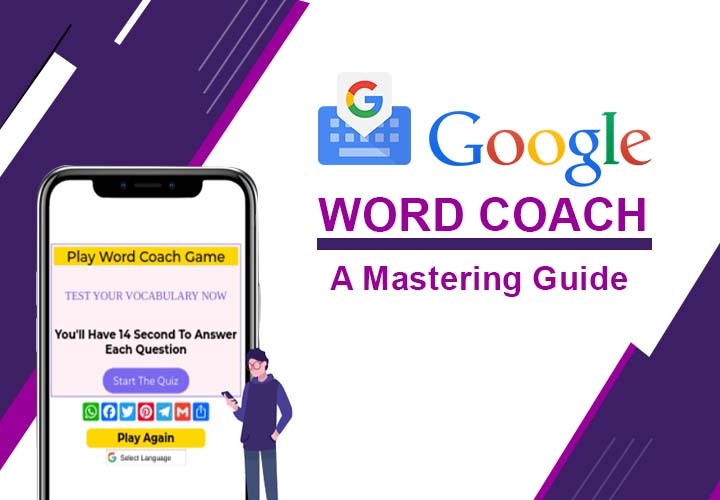
Mastering Vocabulary with Google Word Coach: A Comprehensive Guide
In today's digital age, mastering vocabulary is more important than ever. Whether you're a student looking to ace your exams, a professional striving to communicate effectively, or simply someone who wants to expand their linguistic horizons, having a strong vocabulary is a valuable asset. Fortunately, Google Word Coach is here to help. This interactive tool, offered by the search engine giant, is designed to enhance your vocabulary skills in a fun and engaging way. In this comprehensive guide, we'll explore everything you need to know about Google Word Coach and how you can leverage it to improve your English proficiency.
Understanding Google Word Coach
Google Word Coach is a feature integrated directly into the search engine's search results. It aims to assist users in expanding their vocabulary and improving their language skills through quick, interactive quizzes. Whether you're searching for the meaning of a word or simply exploring topics of interest, Google Word Coach may appear as a card at the top of the search results page, inviting you to test your knowledge.
How Does Google Word Coach Work?
When Google Word Coach appears in your search results, you'll typically encounter a series of multiple-choice questions related to vocabulary. These questions cover various aspects of language, including synonyms, antonyms, word meanings, and contextual usage. Users are presented with a word and asked to choose the correct answer from a set of options. As you progress through the questions, the difficulty level may increase, challenging you to expand your vocabulary further.
Features of Google Word Coach
Google Word Coach offers several features to enhance the learning experience:
Word Definitions: Each question provides the definition of the word being presented, helping users understand its meaning in context.
Multiple Choice: Questions are presented in a multiple-choice format, making it easy to select the correct answer.
Score Tracking: Google Word Coach keeps track of your performance, allowing you to monitor your progress over time.
Visual Aid: Some questions may include images or hints to provide additional context for the word being tested.
Variety of Topics: The quizzes cover a wide range of topics and themes, ensuring a diverse learning experience.
Tips for Maximizing Your Learning Experience
To make the most of Google Word Coach, consider the following tips:
Consistent Practice: Set aside time each day to engage with Google Word Coach and reinforce your vocabulary skills.
Review Mistakes: Pay attention to the questions you answer incorrectly and take the time to understand the correct answers.
Explore Word Origins: Delve deeper into the etymology of words to gain a better understanding of their meanings and usage.
Contextual Learning: Try to use newly learned words in sentences or contexts relevant to your daily life to solidify your understanding.
Stay Curious: Remain curious and open-minded, continuously seeking out new words and concepts to expand your vocabulary.
Benefits of Using Google Word Coach
There are numerous benefits to incorporating Google Word Coach into your language learning routine:
Convenience: Google Word Coach is easily accessible directly from the search engine, making it convenient to use whenever you have internet access.
Engaging Format: The interactive quizzes make learning vocabulary enjoyable and engaging, motivating users to continue practicing.
Personalized Learning: Google Word Coach adapts to your performance, offering questions tailored to your skill level and areas for improvement.
Real-Time Feedback: Instant feedback on your answers allows for immediate learning and correction of mistakes.
Free of Charge: Google Word Coach is completely free to use, making it accessible to anyone with an internet connection.
Conclusion
Google Word Coach is a valuable tool for anyone looking to enhance their vocabulary and improve their English language skills. By providing interactive quizzes, word definitions, and real-time feedback, it offers a dynamic and engaging learning experience. Whether you're a student, professional, or language enthusiast, incorporating Google Word Coach into your daily routine can help you expand your linguistic horizons and communicate more effectively. So why wait? Start mastering vocabulary with Google Word Coach today and unlock a world of words waiting to be discovered.
https://webtoils.com/blog/a-co....mplete-guide-vocabul
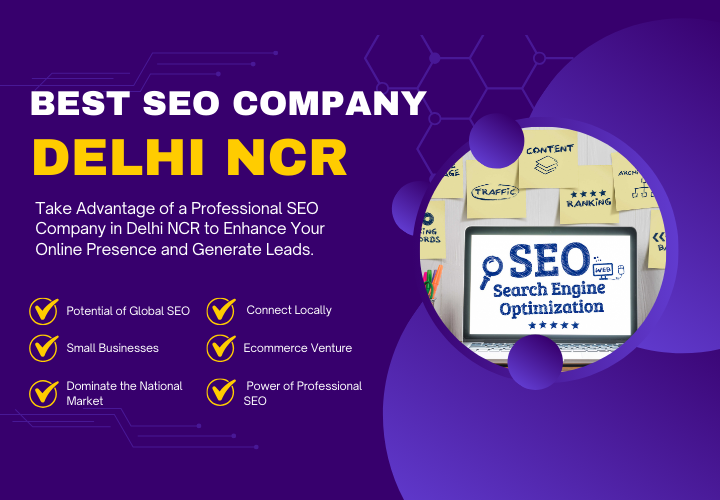
Unveiling the Top SEO Company in Delhi NCR: A Comprehensive Guide
In the bustling digital landscape of Delhi NCR, finding the best SEO company to elevate your online presence can be a daunting task. With countless agencies claiming to deliver exceptional results, it's crucial to sift through the noise and identify the true industry leaders. In this blog, we unveil the top SEO company in Delhi NCR, offering insights into their services, expertise, and why they stand out from the competition.
Understanding the Importance of SEO
Before delving into the specifics of the top SEO company in Delhi NCR, let's reaffirm why investing in search engine optimization (SEO) is paramount for businesses today. In a world where online visibility can make or break success, SEO acts as the cornerstone of digital marketing strategies. It enhances website visibility, drives organic traffic, and ultimately boosts conversions, establishing a strong foundation for sustainable growth.
Introducing the Best SEO Company in Delhi NCR: WebToils
Amidst the plethora of seo company in delhi ncr, one name consistently emerges as the epitome of excellence: WebToils. Renowned for their unwavering commitment to delivering tangible results, WebToils has earned its reputation as the go-to SEO partner for businesses of all sizes. Let's delve deeper into what sets them apart:
1. Proven Track Record of Success
WebToils boasts an impressive portfolio of successful SEO campaigns, spanning diverse industries. Their results-driven approach, coupled with a keen understanding of search engine algorithms, has propelled numerous clients to the top of search engine rankings. From startups to multinational corporations, their expertise transcends boundaries, consistently delivering ROI-driven solutions.
2. Customized Strategies Tailored to Your Needs
Unlike one-size-fits-all approaches adopted by many agencies, WebToils understands that every business is unique. They meticulously craft bespoke SEO strategies aligned with your specific goals, target audience, and industry dynamics. Whether you're aiming to enhance local visibility or compete on a global scale, their tailored solutions ensure maximum impact and long-term success.
3. Comprehensive Suite of Services
Beyond traditional SEO, WebToils offers a comprehensive array of digital marketing services to cater to all your needs. From content marketing and social media management to pay-per-click advertising, their holistic approach ensures a cohesive strategy that amplifies your online presence across channels. By harnessing the power of synergy, they drive synergistic results that transcend individual tactics.
4. Ethical and Transparent Practices
Transparency and integrity are at the core of WebToils' ethos. Unlike dubious agencies that resort to black-hat techniques, they adhere to ethical SEO practices endorsed by major search engines. Every strategy is meticulously implemented with full transparency, keeping you informed at every step of the journey. With WebToils, you can rest assured that your online reputation is in safe hands.
5. Exceptional Client Satisfaction
Ultimately, the true measure of an SEO company's prowess lies in client satisfaction. WebToils takes immense pride in fostering long-term partnerships built on trust, professionalism, and results. Their client testimonials speak volumes about the transformative impact of their services, affirming their status as the top SEO company in Delhi NCR.
Conclusion
In a competitive digital landscape, partnering with the right SEO company can spell the difference between stagnation and success. With its unparalleled expertise, customized approach, and unwavering commitment to excellence, WebToils emerges as the undisputed leader in Delhi NCR's SEO realm. By entrusting your digital journey to WebToils, you unlock the full potential of your online presence, propelling your business to new heights of success.
https://webtoils.com/blog/best....-seo-company-in-delh
Mastering English with Google Word Coach
Once upon a time in a small town nestled in the heart of a verdant countryside, there lived a young student named Emily. Emily had always harbored a deep passion for the English language. Its nuances, its poetry, and its ability to connect people from different corners of the world fascinated her endlessly.
However, Emily often found herself struggling to expand her vocabulary beyond the confines of her textbooks. Despite her fervent efforts, she felt like she was treading water, unable to dive deeper into the vast ocean of words that the English language offered.
One day, while browsing the internet for language learning tools, Emily stumbled upon a wondrous discovery - Google Word Coach. Intrigued by its promise to help users improve their vocabulary in a fun and interactive way, Emily decided to give it a try.
As she delved into the world of Google word coach english found herself immersed in a gamified learning experience like never before. With each question posed by the virtual English coach, she felt her mind stretching and her knowledge expanding.
From synonyms and antonyms to word associations and contextual usage, Google Word Coach covered it all. Emily found herself eagerly anticipating her daily sessions with the coach, relishing the opportunity to sharpen her language skills while having fun.
With each passing day, Emily's confidence in her English abilities soared. No longer did she feel constrained by her limited vocabulary. Instead, she reveled in her newfound fluency, expressing herself with clarity and precision.
Her teachers and classmates noticed the remarkable transformation in Emily. Gone were the days when she struggled to find the right words. Now, she spoke and wrote with confidence, weaving intricate tapestries of language that captivated all who listened.
As Emily continued her journey with Google Word Coach, she realized that mastering English wasn't just about memorizing words; it was about understanding their nuances and embracing the beauty of language itself.
Years later, Emily stood on the stage of a prestigious university, delivering a commencement speech to a sea of eager graduates. As she spoke, her words resonated with passion and eloquence, leaving an indelible mark on all who were fortunate enough to listen.
And as she looked out into the audience, Emily couldn't help but feel a sense of gratitude for the humble English coach that had sparked her journey towards linguistic mastery - Google Word Coach. For it was through its guidance and encouragement that she had unlocked the true power of words and embarked on a lifelong love affair with the English language.
https://webtoils.com/blog/a-co....mplete-guide-vocabul

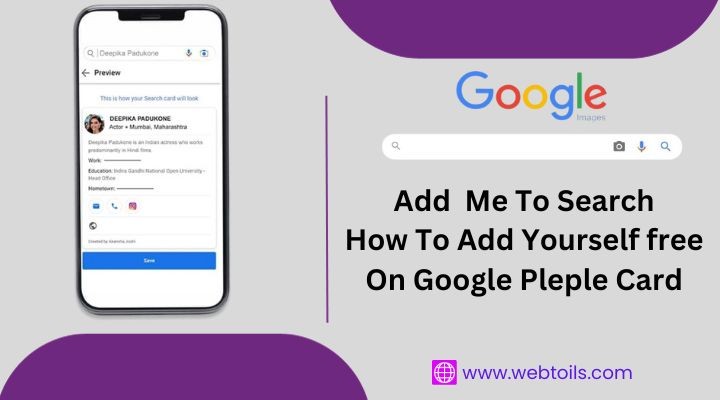
Unlocking Your Online Presence: A Comprehensive Guide to Google People Cards
Tired of unsuccessful Google searches for individuals? Discover ‘Me in the Search’ – Google’s answer for everyone to showcase personal profiles or brands effectively. Learn how to create your Google Search Card from anywhere worldwide. Explore FAQs and insights.
https://webtoils.com/blog/add-....me-to-search-3-steps